Getting started
Set up your workspace, create your first project and invite your team.
Steps
- 1
Create your workspace
Your workspace holds your projects, people and agents. Pick a name; you can switch workspaces from the header at any time.
- 2
Create a project
Go to Projects and press Create project: one project per codebase or product area. Choose private (only members) or public (the whole workspace).
- 3
Invite your team
Open Members, press Invite member, enter their email and a role: admin, member or viewer. They join from the email link.
- 4
Connect your coding agent
In the project, open Connect agent and follow the guide below. Your agent then picks up tasks and reports its progress here.
On the screen
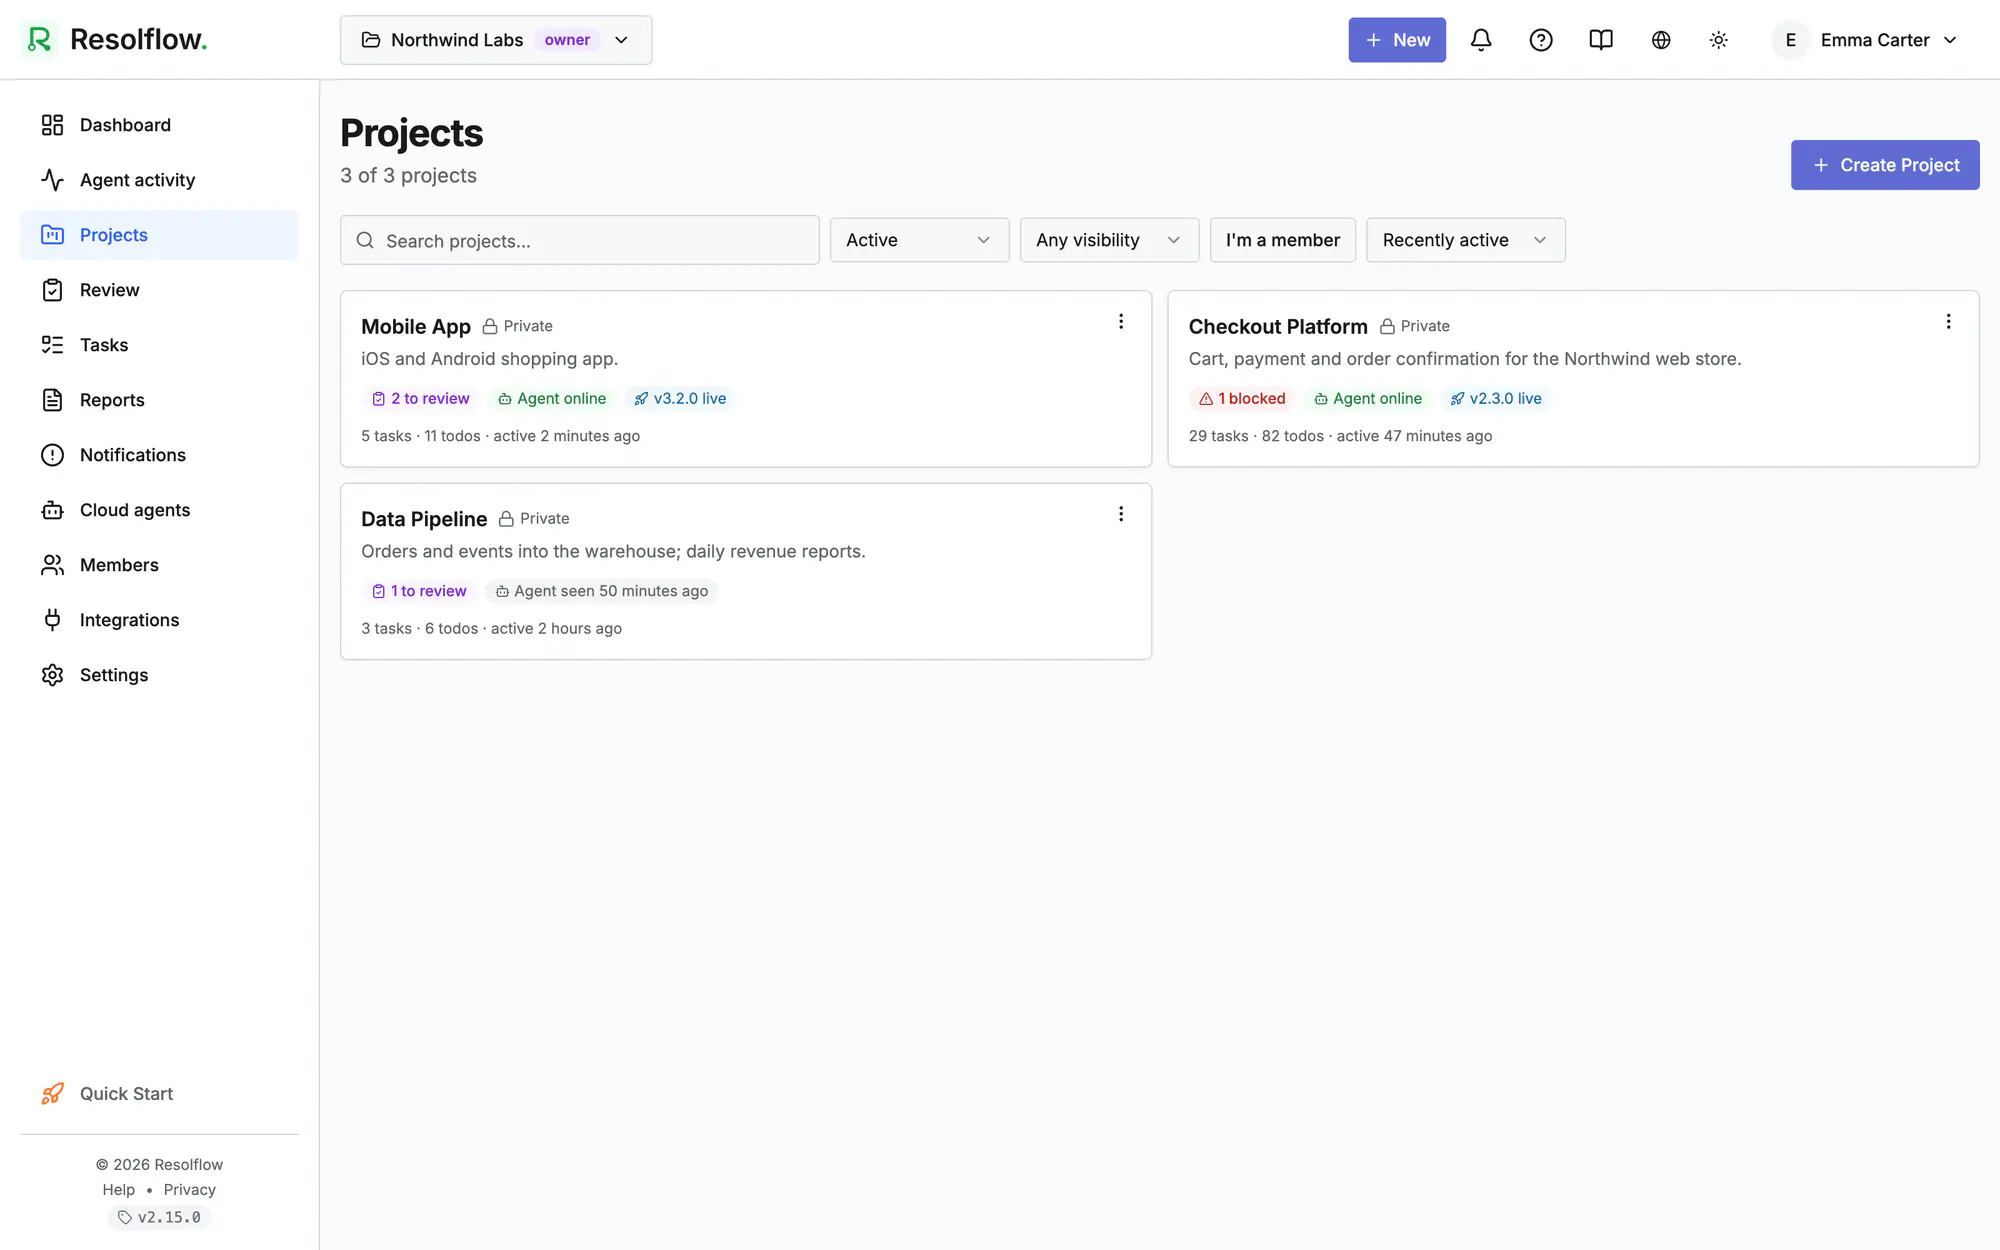
Screen 1 of 3
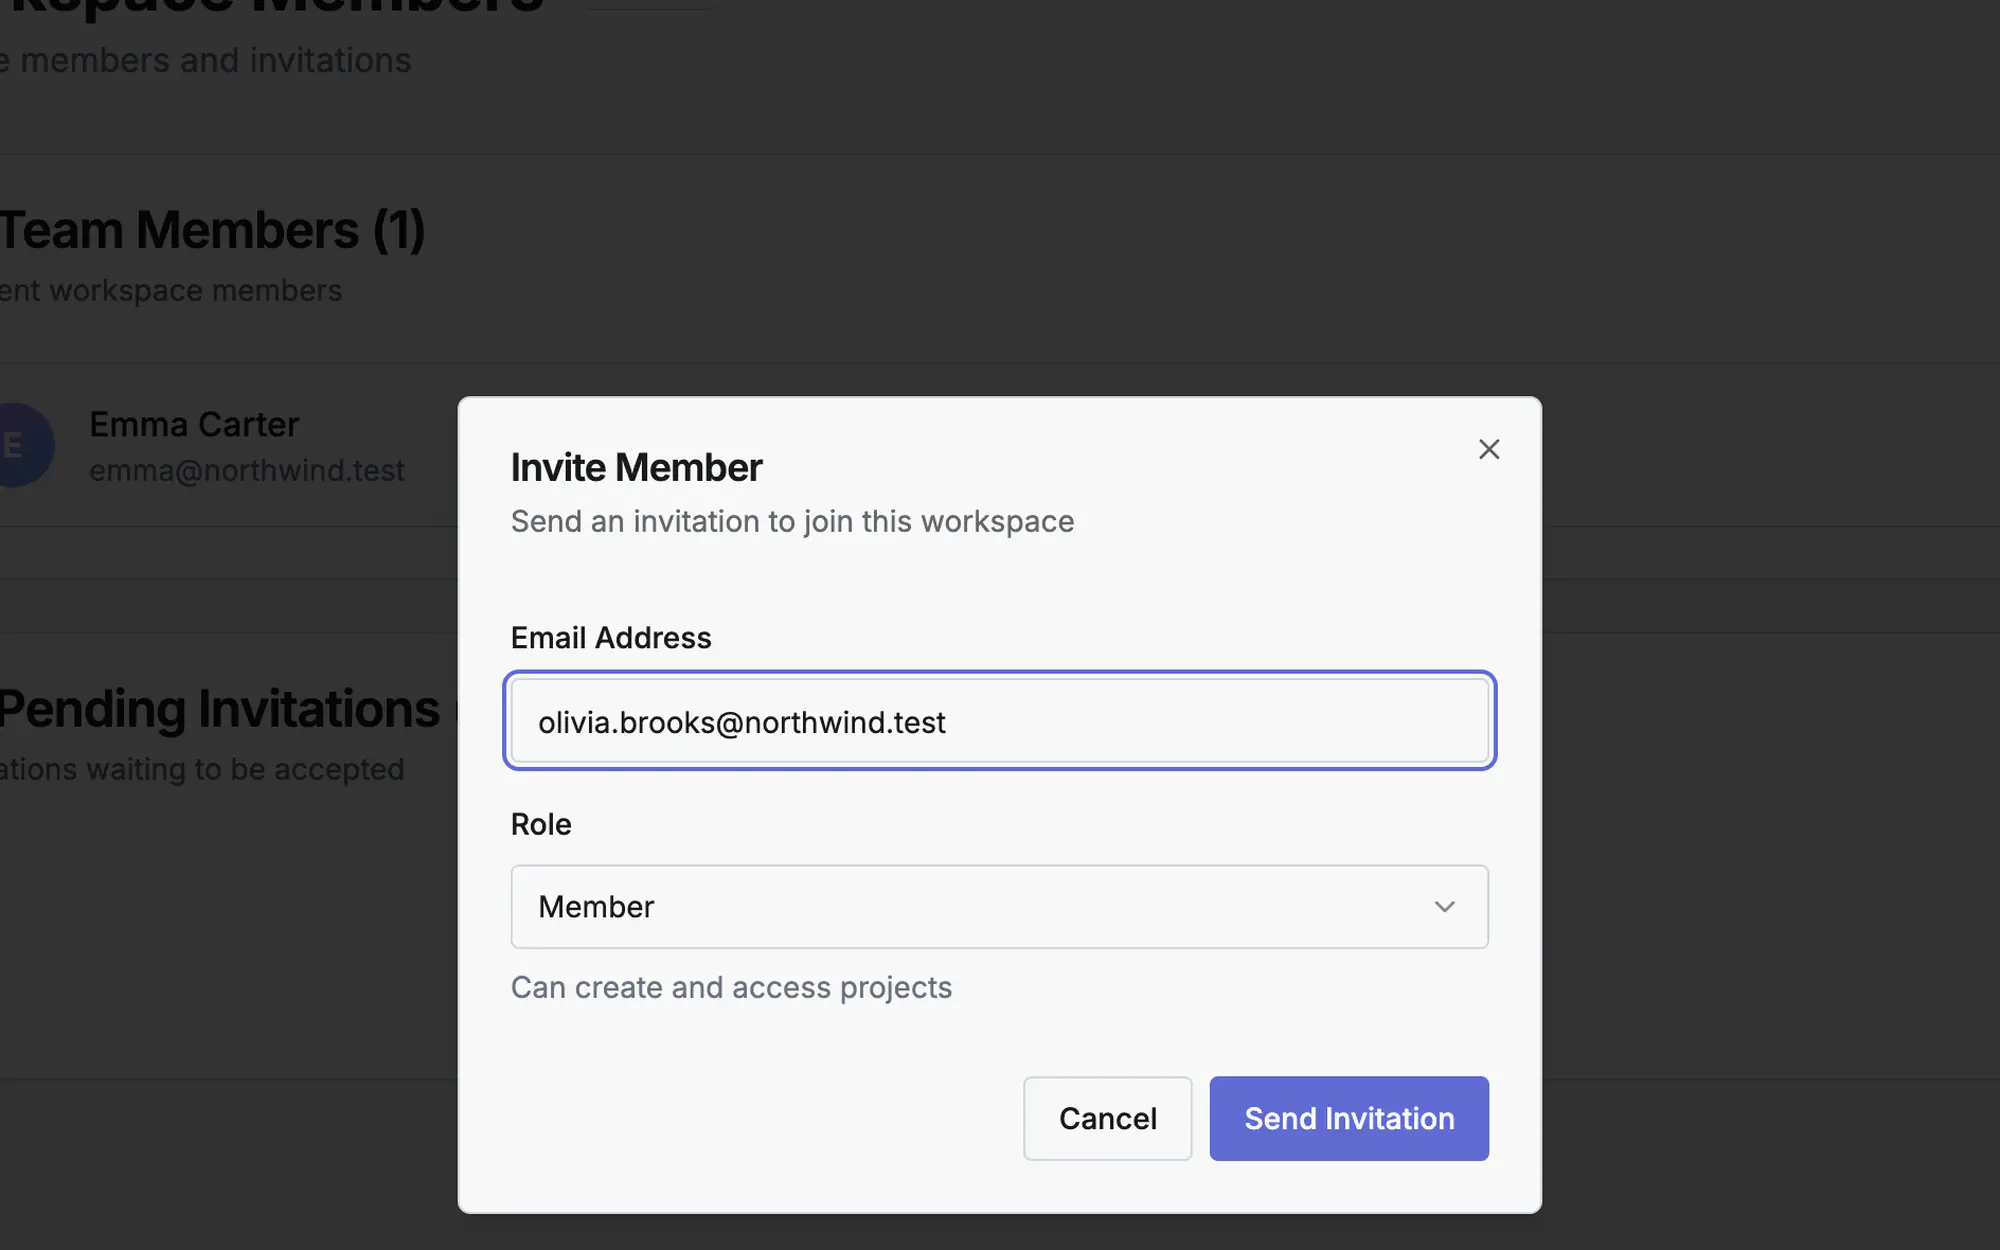
Screen 2 of 3
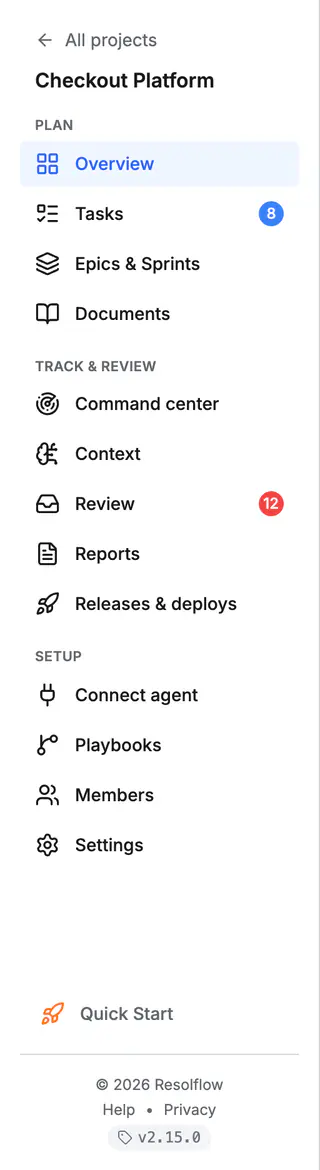
Screen 3 of 3
Watch it (0:15)
Common questions
Workspace or project: what is the difference?
A workspace is your team or company: billing, people and AI settings live there. A project is one codebase or product area inside it, with its own tasks, agents, playbooks and releases.
Does Resolflow need access to my code?
No. Your coding agent works in your repository on your machine and reports through MCP. Resolflow only stores tasks, evidence and the events you send it.
Who can see a private project?
Only its members and the workspace owner and admins. Add people from the project's Members tab.
Read more
Docs: Quick startConnect an agent via MCPTasks & planningIn the app, press ? on this screen to open this guide next to your work, then “Show me” for a tour of the real page.